 Save
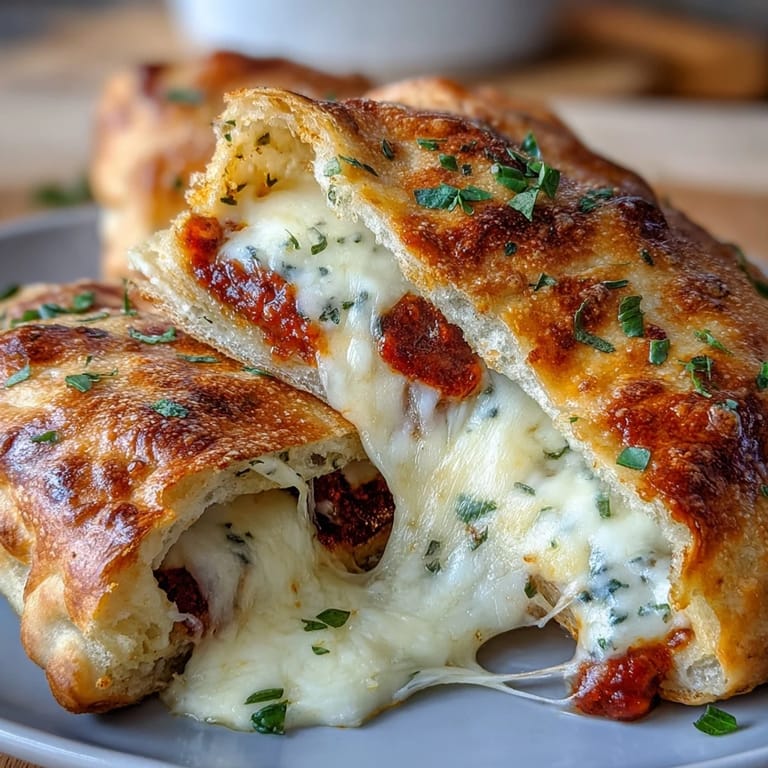
Save Last winter, during a particularly intense fitness phase, I found myself craving comfort food but refusing to derail my progress. These pizza hot pockets became my Sunday afternoon ritual—something warm and satisfying that actually fueled my goals instead of working against them. My roommate started requesting them weekly, and honestly, nothing beats pulling that golden tray from the oven.
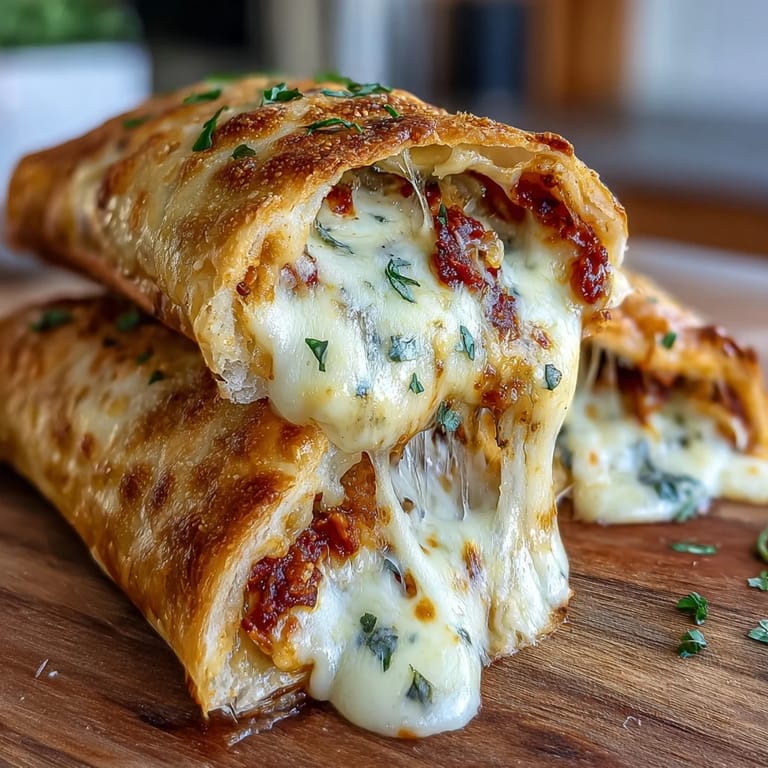
I first made these on a rainy Sunday when my meal prep game needed serious improvement. The sheer simplicity of mixing Greek yogurt and flour felt almost wrong—until I tasted the result. Now theyre a staple in my freezer, and Ive converted plenty of skeptics who swore healthy pizza pockets couldnt possibly taste this good.
Ingredients
- Low-fat Greek yogurt: This creates the tender, pliable dough while adding substantial protein to every bite
- All-purpose flour: Provides structure and chew, though you can experiment with flour blends
- Baking powder: Essential for that light, puffy texture in the baked dough
- Italian seasoning: Infuses the crust with classic pizza flavor from the inside out
- Garlic powder: Adds aromatic depth without the risk of burning fresh garlic in the dough
- Salt: Enhances all the flavors and balances the tang from the yogurt
- Pizza sauce: Use whatever sauce you love, just keep portions controlled to prevent sogginess
- Low-fat mozzarella cheese: Melts beautifully while keeping the protein high and fat reasonable
Tired of Takeout? 🥡
Get 10 meals you can make faster than delivery arrives. Seriously.
One email. No spam. Unsubscribe anytime.
Instructions
- Preheat and prepare:
- Set your oven to 375°F and line a baking sheet with parchment paper so nothing sticks
- Mix the dry ingredients:
- Whisk together flour, baking powder, Italian seasoning, garlic powder, and salt in a large bowl until combined
- Form the dough:
- Add Greek yogurt and stir until a shaggy mass forms, then turn onto a floured surface and knead for 2-3 minutes until smooth
- Divide and roll:
- Split dough into 8 equal pieces and roll each into a 6-inch oval, keeping the rest covered so they dont dry out
- Add the filling:
- Spoon 15 grams of sauce onto half of each oval, leaving a border, then top with 20 grams of cheese
- Seal the pockets:
- Fold dough over filling, press edges firmly, and crimp with a fork, using water if needed to help it stick
- Bake to golden:
- Place pockets on your prepared tray and bake for 18-20 minutes until deeply golden and crisp
- Cool briefly:
- Let them sit for 5 minutes before serving—the insides will be molten hot
 Save
Save These became my go-to post-workout meal during marathon training. Something about tearing into that hot, cheesy pocket felt like such a reward, but my body actually thanked me for the protein boost instead of feeling weighed down.
Storage and Meal Prep
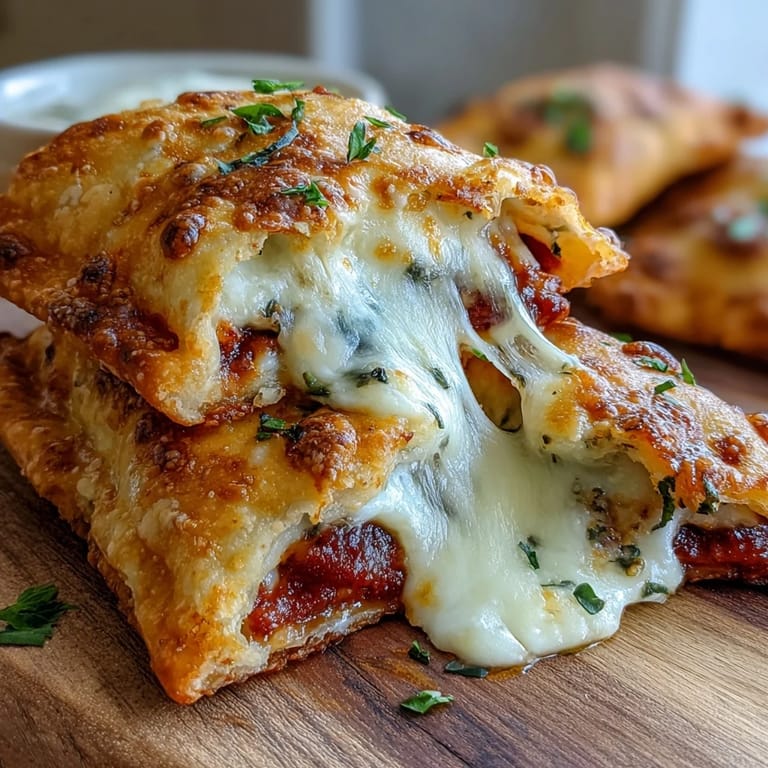
I always double this recipe and freeze half—the pockets reheat beautifully in the microwave or oven. Wrap them individually in parchment before freezing, and they will last up to three months. Thaw overnight in the fridge or bake frozen at 350°F for 15-20 minutes.
Customization Ideas
The beauty of this recipe is how adaptable it is. I have added diced cooked chicken, spinach, or even sautéed mushrooms when I have extra vegetables to use up. Just keep the fillings on the drier side and adjust the cooking time by a minute or two if adding substantial extras.
Serving Suggestions
While these are satisfying on their own, I love pairing them with a simple side salad or roasted vegetables. A few pickled peppers or hot pepper flakes on the side add a nice contrast to the rich, cheesy interior.
- Try whole wheat flour for extra fiber and a nuttier crust flavor
- Brush the tops with egg wash for a shinier, more golden finish
- Let the dough rest 10 minutes after kneading for easier rolling
 Save
Save Hope these become as much of a staple in your kitchen as they have in mine.
Recipe FAQ
- → Can I make these pockets low-carb?
Yes, substitute the all-purpose flour with a blend of half almond flour and half coconut flour. This adjustment reduces carbohydrates while maintaining the protein content and texture.
- → How should I store leftovers?
Keep cooled pockets in an airtight container in the refrigerator for up to 3 days. For longer storage, freeze individually wrapped pockets for up to 3 months and reheat in the oven or microwave.
- → Can I add meat to the filling?
Absolutely. Diced cooked turkey, chicken, or lean beef make excellent additions. Simply mix your chosen protein with the sauce and cheese before filling the dough for extra flavor and protein.
- → What if I don't have Greek yogurt?
Blended low-fat cottage cheese works as a substitute and actually increases the protein content. Ensure it's well-blended before mixing with the flour for the smoothest dough texture.
- → Why do I need to let the dough rest?
The 10-minute resting period allows the flour to fully hydrate and the baking powder to activate, resulting in a softer, more pliable dough that's easier to shape and seals better around the filling.
- → Can I make these dairy-free?
Use dairy-free yogurt alternative and vegan cheese shreds. The texture may vary slightly, but the method remains the same. Check that all ingredients align with your dietary needs.