 Save
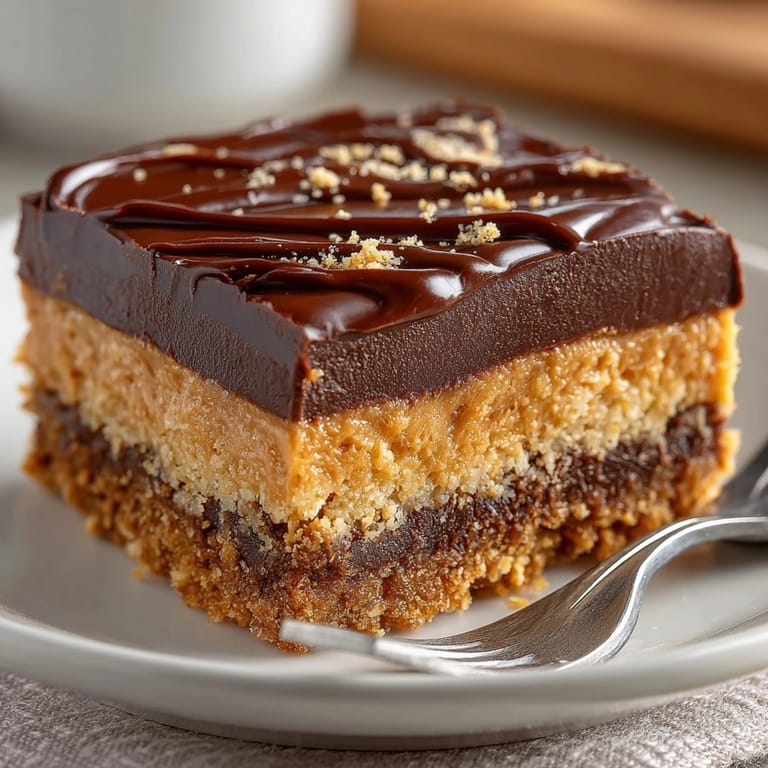
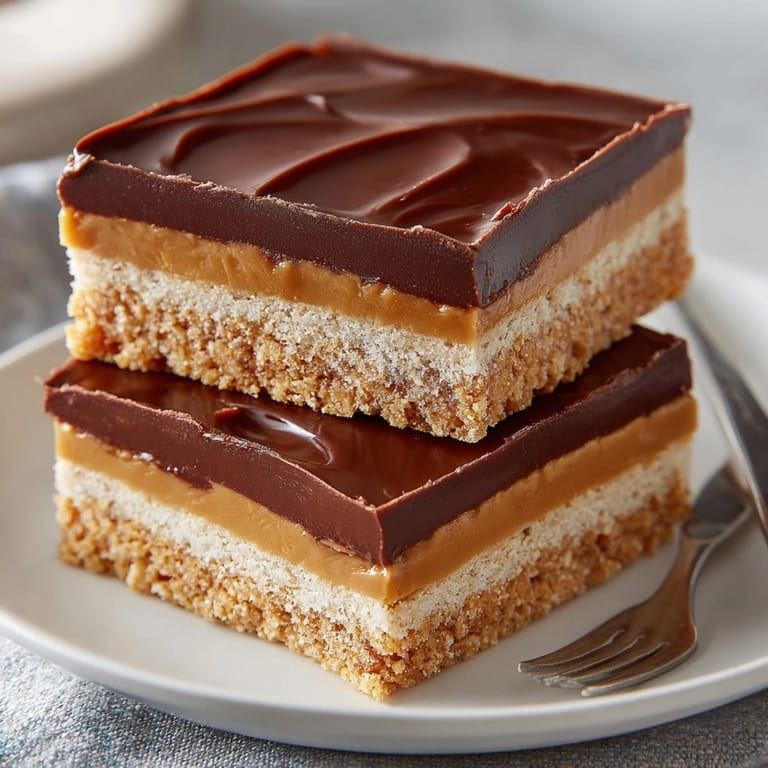
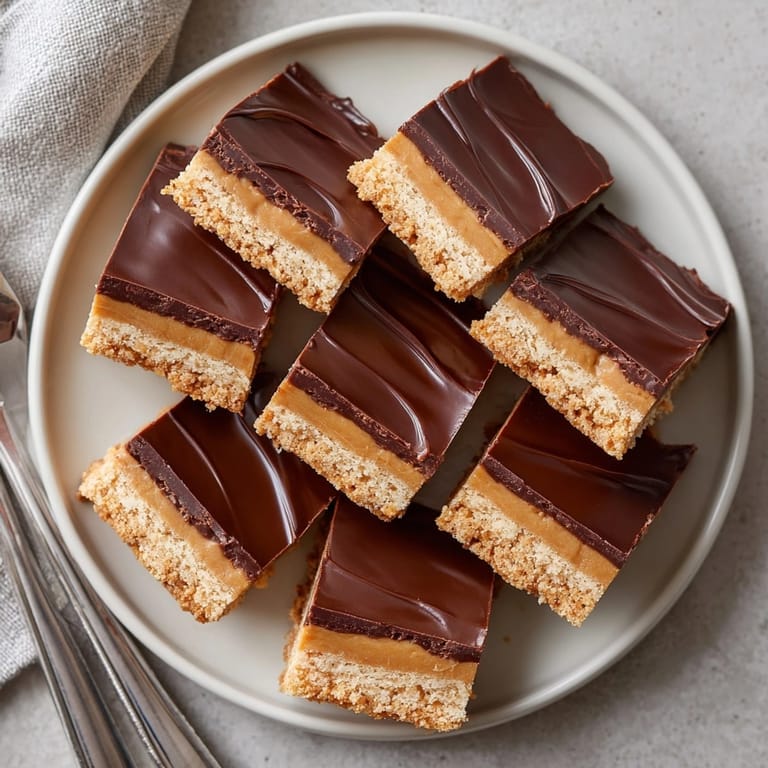
Save These peanut butter chocolate bars are the kind of irresistible dessert you whip up when you want something decadent and simple. With a chewy, sweet peanut butter base and a lusciously thick chocolate topping, these bars are a guaranteed crowd pleaser—whether served at a potluck, packed in a lunchbox, or just sliced for snacking at home.
The very first time I made these was for an after-school treat for my kids they polished off half the pan before dinner and now it is their top request for bake sales or weekend reward snacks
Ingredients
- Unsalted butter: melted This builds the rich foundation you want real butter for the best taste look for good quality with a fresh creamy aroma
- Graham cracker crumbs: Provide chewy structure and a touch of honey flavor make sure your crumbs are fine and fresh for the smoothest bars
- Powdered sugar: Essential for that melt-in-your-mouth sweetness sift to avoid lumps in your dough
- Creamy peanut butter: The hero ingredient choose a natural-style creamy peanut butter for the richest layer smooth consistency makes for easy mixing
- Semi-sweet chocolate chips: Top quality chips create a luscious topping use brands that melt well and taste rich
- Additional creamy peanut butter: Blending with the chocolate keeps the top extra soft and easy to slice you want smooth peanut butter here too
Tired of Takeout? 🥡
Get 10 meals you can make faster than delivery arrives. Seriously.
One email. No spam. Unsubscribe anytime.
Instructions
- Line the Pan:
- Line your nine by thirteen inch baking pan with parchment paper be sure to leave overhang on the sides for easy removal after chilling
- Make the Peanut Butter Base:
- Combine melted butter graham cracker crumbs powdered sugar and one cup of creamy peanut butter in a large bowl mix thoroughly with a wooden spoon or spatula until it forms a cohesive thick dough the mixture should have no dry patches and pull away from the sides
- Press and Smooth:
- Transfer the peanut butter dough to your prepared pan spread it evenly across the bottom press firmly and smooth the top with a spatula or the back of a measuring cup this ensures your bars hold together when cut
- Melt the Chocolate Topping:
- Place the semi-sweet chocolate chips and half a cup of creamy peanut butter in a microwave-safe bowl heat in thirty second bursts stirring in between until completely melted and glossy this step is key for a smooth shiny chocolate layer be patient and do not overcook
- Spread the Topping:
- Pour the melted chocolate mixture over the base layer and immediately spread it in an even layer with an offset spatula or the back of a spoon work quickly so the topping glides smoothly before it starts to set
- Chill to Set:
- Refrigerate the pan uncovered for at least forty minutes until the chocolate is firm to the touch this ensures easy slicing and just the right bite
- Slice and Serve:
- Use the parchment overhang to lift the set bars from the pan place on a cutting board cut with a large sharp knife into sixteen bars wiping the blade between cuts for clean edges eat cold or let them sit at room temperature for five minutes for slightly softer texture
 Save
Save I am particularly partial to the smooth layer of peanut butter that goes beneath the chocolate when I was young my grandmother always let me spread it and I would swirl it in patterns now my own kids beg for that same job and it feels like passing down a little edible family tradition
Storage Tips
Store the sliced bars in an airtight container in the fridge for up to one week if you like a firmer bite keep them chilled but for fudgier bars let them sit at room temperature for about ten minutes before eating if you want to freeze them wrap the bars individually in parchment or wax paper then seal inside a zip top bag they will keep perfectly for up to three months simply thaw in the refrigerator overnight or at room temperature for thirty minutes
Ingredient Substitutions
You can easily swap almond butter or even hazelnut spread for the peanut butter to match allergies or taste in the base use gluten free graham crackers if needed dark chocolate chips work in place of the semi sweet if you prefer a less sweet topping if you like a bit of crunch stir in chopped roasted peanuts right into the base mixture
Serving Suggestions
Serve these cut into generous bars for dessert or slice them even smaller for bite sized treats they pair fantastically with a glass of cold milk a mug of hot coffee or some vanilla ice cream crumble a bar over vanilla yogurt for an indulgent parfait or tuck a wrapped bar into a lunchbox for a midday boost
Cultural and Historical Context
Peanut butter and chocolate have been an all American pairing since the twentieth century you see them in everything from candies to cookies these bars capture that classic combo in a homemade format with no baking required they are a staple of potlucks and bake sales from coast to coast often made by busy home cooks who want maximum flavor with minimum fuss
Seasonal Adaptations
Around the holidays add a half teaspoon of cinnamon or ginger to the base for warmth
Chopped pretzels on the chocolate layer make for a salty crunch perfect for summer
At Easter or Halloween press candy pieces or festive sprinkles into the top before chilling
Three Essential Notes
Let the bars chill fully before cutting for clean sharp edges
Use natural peanut butter for the richest flavor avoid dry or separated brands
Always use parchment for easy removal and tidy cuts
Success Stories
Once I brought these bars to a summer barbecue and the entire tray disappeared in under twenty minutes everyone kept asking for the recipe and even the pickiest eaters came back for seconds when I shared them at my daughters soccer practice the kids declared them the best snack ever so they quickly became my go to contribution for school events
Freezer Meal Conversion
To stash these as a freezer treat simply cut the chilled bars wrap each one in parchment or foil and seal in a freezer safe container they do not suffer at all from freezing and defrost in the time it takes to brew a pot of coffee this trick has saved me when unexpected company or sweet cravings hit
 Save
Save Recipe FAQ
- → How do I achieve smooth chocolate layers?
Melt chocolate chips and peanut butter together in intervals, stirring well to create a glossy, even topping.
- → Can I make these bars ahead?
Yes, they keep well in the refrigerator for up to one week, retaining their texture and flavor.
- → Is it possible to use almond butter?
Absolutely—substitute almond butter in both layers for a unique twist on the classic flavor.
- → What tools are needed for preparation?
You'll need a baking pan, mixing bowls, spatula, microwave-safe bowl, parchment paper, and a knife for slicing.
- → How can I add more texture?
Mix in chopped roasted peanuts to the base for a crunchy bite or sprinkle extra nuts on top before chilling.
- → Are these bars suitable for vegetarians?
Yes, these bars contain no meat or gelatin, making them vegetarian-friendly. Always check your ingredient labels.