 Save
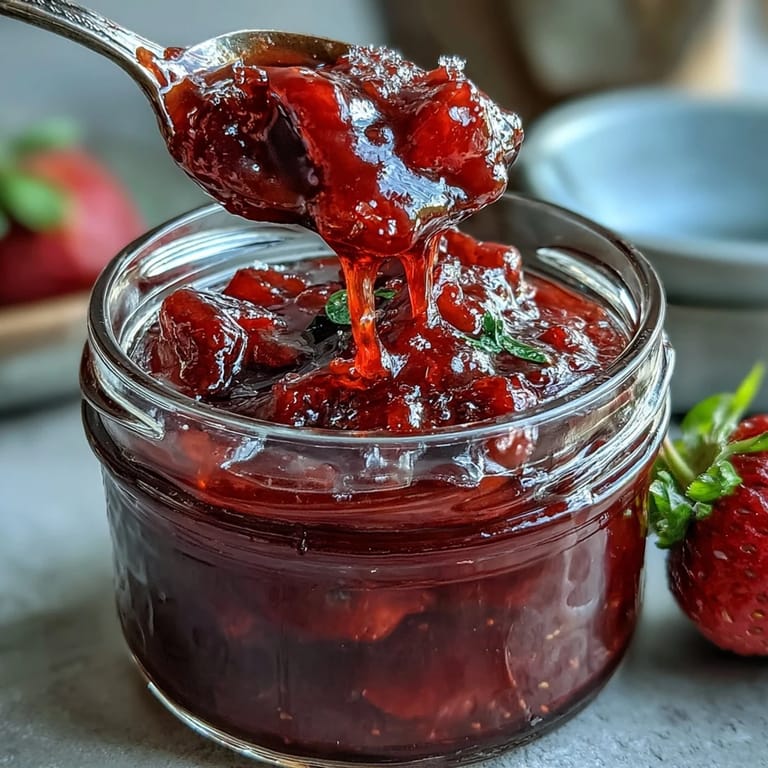
Save The vibrant pop of strawberries always reminds me of the first true taste of spring: sweet, fragrant, and impossibly cheerful. Last April, the kitchen window was wide open while a late-morning rain tapped gently, and I decided to turn a basket of strawberries into something worth savoring. As I worked, the hum of bees outside made the sugar-laced scent inside feel even brighter. Its these small-batch kettle moments that reward slow living. And somehow, this jam always seems to spark a craving for homemade toast and unscheduled mornings.
The first batch I made was for a picnic in the park with friends, tucked in my bike basket between scones and secondhand cutlery. We laughed as we wiped sticky jam from our fingers with napkins printed in strawberries, the sound of birds joining the conversation. Its easy to talk about childhood, dreams, or nothing at all with good jam on hand. That day became legendary in group chat lore—mostly because the jam disappeared long before the bread.
Ingredients
- Fresh strawberries: Choose the ripest you can find, preferably local if possible — bruised berries add extra juiciness but avoid any with soft spots that smell sour.
- Granulated sugar: This both sweetens and preserves; I always stir extra slowly to help it dissolve without any gritty patches.
- Freshly squeezed lemon juice: The brightness heightens the berries flavor and helps the jam set — rolling the lemon before juicing gets you more out of each half.
- Vanilla bean (optional): Adds warmth and depth; scraping the seeds neatly is a little satisfying trick I picked up after watching a pastry chef friend.
Tired of Takeout? 🥡
Get 10 meals you can make faster than delivery arrives. Seriously.
One email. No spam. Unsubscribe anytime.
Instructions
- Mash the Strawberries:
- Tip the prepared strawberries into a big, sturdy saucepan; crush about half with a potato masher so you get a jammy base with pops of fruit.
- Add Sugar and Lemon:
- Pour in the sugar and squeeze in the lemon juice, stirring gently — listen for the sugar granules rasping against the pan.
- Optional Vanilla Time:
- If youre feeling fancy, scrape in the vanilla seeds and toss the pod in, too.
- Bring to Boil:
- Turn on the heat to medium, stirring so the sugar melts without sticking, and skim away any foam that bubbles up.
- Thicken Into Jam:
- Let the mixture cook until it thickens and glistens, testing with a candy thermometer or by dropping a spoonful onto a chilled plate.
- Jar It Up:
- Once its set, remove the vanilla pod, let cool briefly, then ladle carefully into sterilized jars while it is still hot.
- Seal and Store:
- Screw on the lids, let them cool completely, and pop in the fridge — the hardest part is waiting to try it.
 Save
Save  Save
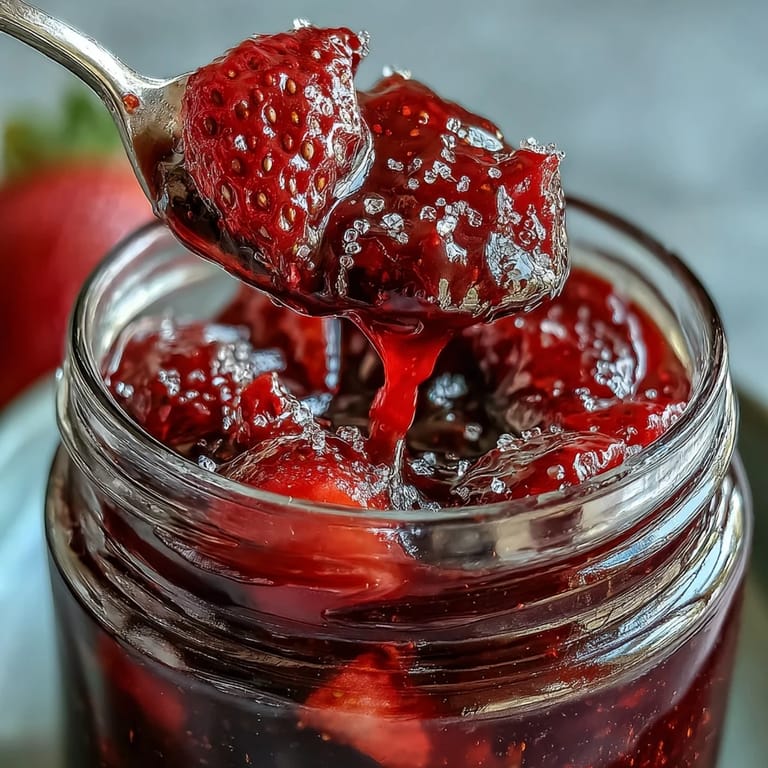
Save The time I gave a jar to my neighbor, who confessed it brought back memories of picking berries as a child, it became clear that jam can be more than a spread — its a conversation starter. Suddenly, we had stories and laughter over toast at the kitchen counter, and it felt like we were old friends.
Getting That Perfect Set
Using a candy thermometer sounds fancy, but it saves so much doubt. If you dont have one, just pop a little jam onto a cold plate from the freezer—when it wrinkles as you nudge it, youre golden. I like a softer set, but cooking a few minutes longer gives a tighter, classic consistency. The key is patience and not wandering off when the bubbles get thick. Stirring at the end feels meditative, and youll notice the texture change right before your eyes.
Choosing and Preparing Jars
There is a certain joy in collecting odd glass jars, especially the ones with pretty shapes or labels half-peeled from their last life. To sterilize, I wash them well and set them upside down on a baking tray in a low oven until bone dry. It gives you time to cut small circles of fabric for the tops, if whimsy calls. A funnel helps with neatness, but steady hands are a fine substitute. Filling jars while the jam is still hot is the trick to that satisfying vacuum ping.
Small Batch, Big Impact
You dont need a factorys worth of berries to make a batch that friends rave about. Working small lets you experiment — swap vanilla for a herb sprig if you like, or split your batch for different flavors. When the season peaks, grab an extra punnet for freezing so you can do it all over again come winter. The best part is seeing that jar of homemade jam on a crowded brunch table, pride glowing a little brighter than the jam itself.
- If you want to gift it, add a note with serving ideas.
- Try layering in a yogurt parfait for maximum effect.
- Remember: a clean jar is a happy jar.
 Save
Save  Save
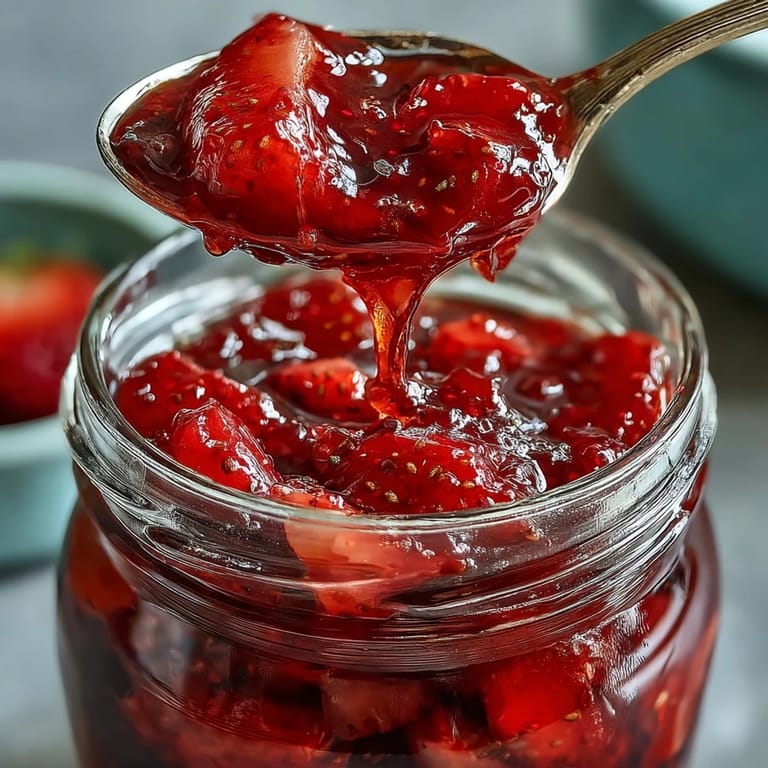
Save Theres real magic in making something so simple feel so special. I hope your kitchen fills with the same bright, joyful scent the next time you stir up a batch.
Recipe FAQ
- → How do I test for proper set?
Chill a small plate, spoon a bit of hot jam onto it and push gently—if it wrinkles, it has set. Alternatively, a candy thermometer should read around 105°C (220°F) for a reliable finish.
- → Can I reduce the sugar?
Lowering sugar will affect texture and shelf life. Use specially formulated low-sugar pectin or extend cooking time to concentrate natural pectin, but expect a looser spread and shorter refrigerated storage.
- → Are frozen strawberries usable?
Yes. Thaw completely and drain excess water before cooking. You may need a slightly longer simmer to reach set since frozen berries release more liquid.
- → Why crush and macerate the berries?
Crushing half the berries gives a mix of jammy body and whole-fruit texture, while a short maceration helps extract juices and dissolve sugar, enhancing natural flavor before cooking.
- → How can I add herbal notes?
Add a sprig of thyme or basil toward the end of cooking or steep it in the hot jam off the heat for a few minutes. Remove the sprig before jarring to keep flavors bright and balanced.
- → What's the best way to sterilize jars?
Wash jars, then boil them in a water bath for 10 minutes or place them in a 120°C oven for 15 minutes. Keep jars hot until filling to reduce contamination and improve seal quality.